
Dododuck Professional Q78 Digital Voice Recorder: A Comprehensive Guide
Welcome! This detailed guide unlocks the full potential of your Dododuck Q78‚ offering essential instructions for optimal performance and a seamless user experience․

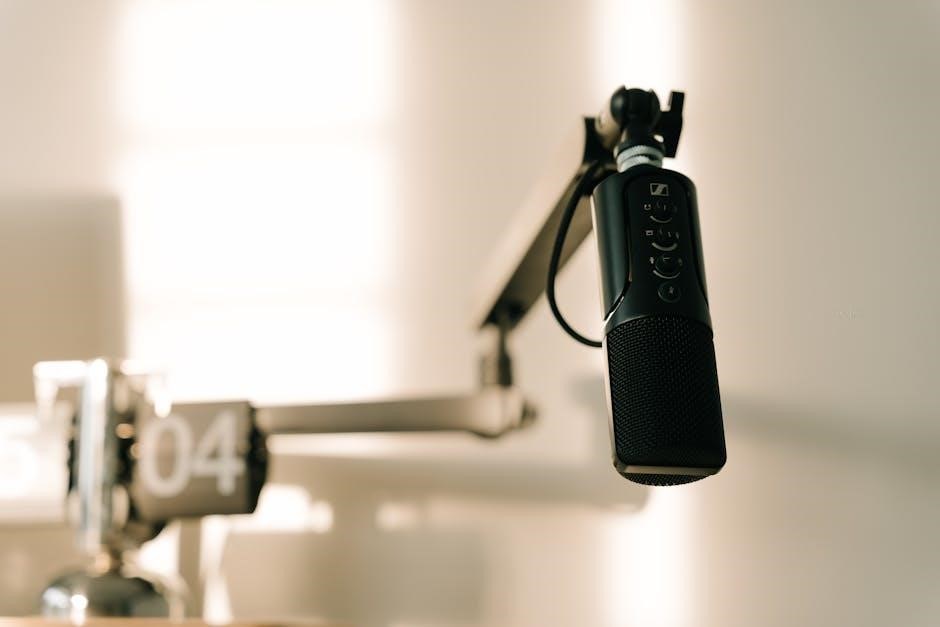
The Dododuck Professional Q78 is engineered for professionals‚ students‚ journalists‚ and anyone requiring high-quality audio recording in a portable device․ This digital voice recorder boasts advanced features designed for clarity‚ reliability‚ and ease of use․ It’s more than just a recording device; it’s a tool to capture crucial moments‚ interviews‚ lectures‚ and meetings with exceptional fidelity․
This manual serves as your comprehensive resource‚ guiding you through every aspect of the Q78 – from initial setup and basic operation to advanced functionalities and troubleshooting․ We’ll explore its intuitive interface‚ versatile recording modes‚ and efficient file management system․ Understanding these features will empower you to maximize the Q78’s capabilities and achieve professional-grade audio recordings consistently․
Prepare to discover how the Dododuck Q78 can become an indispensable asset in your daily life‚ offering a reliable and convenient solution for all your audio recording needs․ Let’s begin your journey with the Q78!
Key Features and Specifications
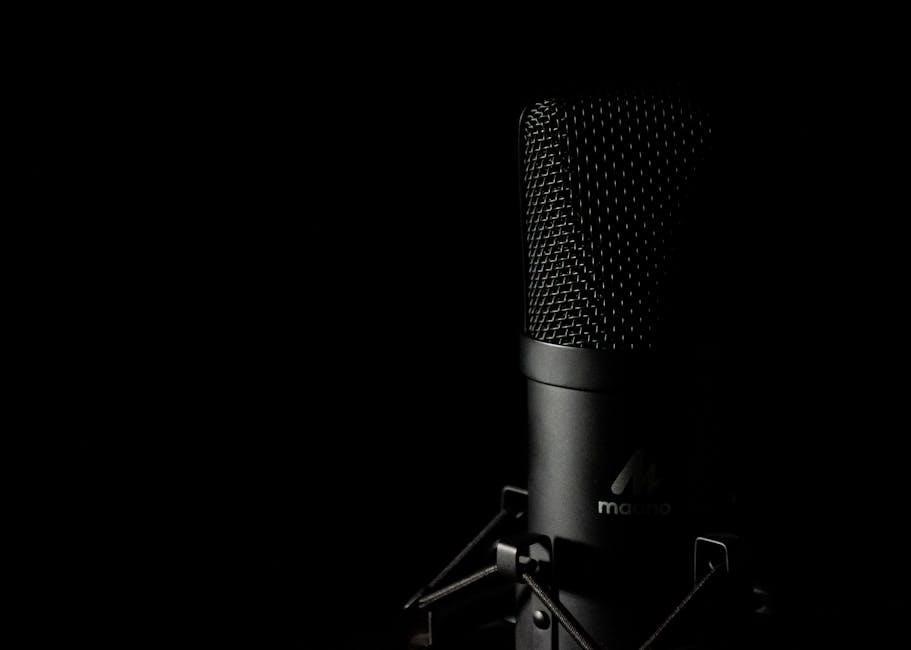
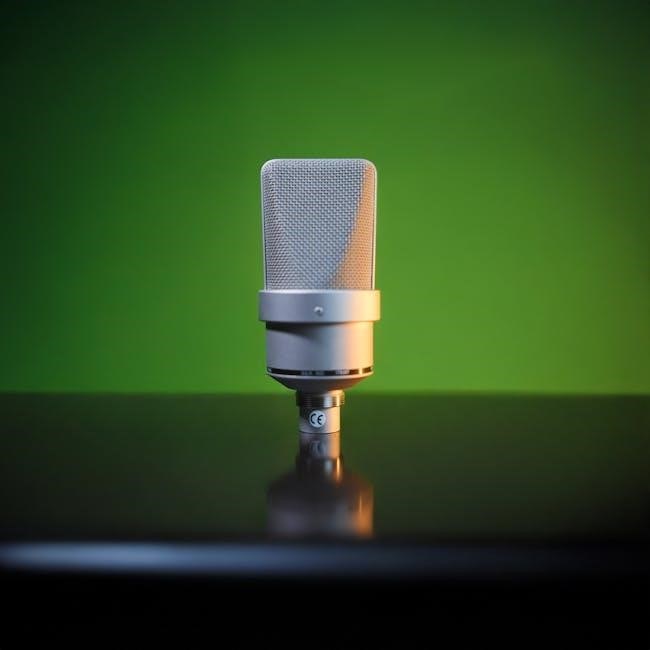
The Dododuck Q78 distinguishes itself with a suite of powerful features․ It offers multiple recording formats (MP3‚ WAV) and selectable bitrates for optimized audio quality and file size․ Its high sensitivity microphone ensures clear recordings even at a distance‚ while noise reduction technology minimizes background distractions․ The integrated voice activation recording (VAR) function intelligently starts and stops recording based on sound detection‚ saving storage space․
Key Specifications: Display – 1․5 inch LCD screen; Storage – Supports up to 128GB MicroSD card (not included); Connectivity – USB 2․0 for data transfer; Battery Life – Up to 20 hours of continuous recording; Recording Formats – MP3‚ WAV; Microphone – High sensitivity omnidirectional microphone․
The Q78’s compact and durable design makes it ideal for on-the-go recording․ Its user-friendly interface and intuitive controls ensure a seamless experience for both novice and experienced users․ Experience professional-grade audio capture with the Dododuck Q78․
Getting Started with Your Q78
Let’s begin! This section guides you through the initial setup of your Dododuck Q78‚ ensuring a quick and effortless start to your recording journey․
Unboxing and Component Checklist
Welcome to the Dododuck experience! Carefully unpack your new Dododuck Professional Q78 Digital Voice Recorder․ Inside the box‚ you should find the following components․ First‚ verify the presence of the Q78 recorder unit itself – a sleek and compact device designed for portability․ Next‚ locate the included USB cable‚ essential for file transfer and charging․
You’ll also find a high-quality microphone windscreen‚ designed to minimize background noise and enhance recording clarity‚ particularly useful in windy or noisy environments․ A user manual‚ providing detailed instructions and troubleshooting tips‚ is also included․ Finally‚ check for the quick start guide‚ offering a simplified overview of the device’s core functions․
If any components are missing or appear damaged‚ please contact Dododuck customer support immediately for assistance․ Retain the original packaging for potential warranty claims or returns․ Ensuring all components are present guarantees a complete and optimal user experience from the outset․
Charging the Device & Battery Life
Powering your Dododuck Q78 is simple! Use the provided USB cable to connect the recorder to a powered USB port on your computer or a USB wall adapter․ A red indicator light will illuminate during charging‚ transitioning to green once fully charged․ A full charge typically takes approximately 2-3 hours․
The Dododuck Q78 boasts an impressive battery life‚ offering up to 20 hours of continuous recording on a single full charge‚ depending on the recording quality selected․ For extended recording sessions‚ consider using a portable power bank for uninterrupted operation․
To maximize battery life‚ disable features like automatic recording or voice activation when not needed․ Avoid exposing the device to extreme temperatures‚ as this can negatively impact battery performance․ Regularly charging the device‚ even when not in use‚ helps maintain optimal battery health and longevity․
Powering On/Off and Basic Navigation
Initiating operation is straightforward․ Press and hold the power button‚ located on the side of the device‚ for approximately two seconds to power on the Dododuck Q78․ The LCD screen will illuminate‚ displaying the main menu․ To power off‚ repeat this process – press and hold the power button until the screen goes dark․
Basic navigation utilizes the directional buttons (up‚ down‚ left‚ right) and the central ‘OK’ button․ Use the up and down buttons to scroll through menu options and files․ Press ‘OK’ to select an option or begin recording․ The left and right buttons may be used for playback control‚ such as fast forward or rewind․
Familiarize yourself with the menu structure for efficient operation․ A short press of the power button during operation typically accesses quick settings or returns to the previous menu․

Recording Functions
Capture audio with ease! The Q78 offers versatile recording capabilities‚ allowing you to select optimal settings for various environments and desired sound quality․
Recording Modes: High/Normal/Low Quality
Optimizing your audio capture is simple with the Dododuck Q78’s selectable recording modes․ The High Quality mode (typically 192kbps or higher) delivers exceptional clarity and detail‚ ideal for lectures‚ interviews‚ or musical recordings where fidelity is paramount․ Be aware this mode consumes more storage space․
Normal Quality (around 128kbps) strikes a balance between sound quality and file size‚ suitable for general voice recording‚ meetings‚ and memos․ It provides a clear and understandable recording without excessive storage demands․

For extended recording times or when storage space is limited‚ the Low Quality mode (approximately 64kbps) is the best choice․ While sacrificing some audio detail‚ it allows you to capture significantly longer recordings․ This is perfect for situations where capturing the content is more important than pristine audio quality‚ like quick notes or brainstorming sessions․ Experiment to find the best setting for your needs!
Adjusting Recording Volume & Sensitivity
Ensuring optimal audio levels is crucial for clear recordings․ The Dododuck Q78 allows precise control over both recording volume and microphone sensitivity․ Access the settings menu to adjust the input volume; a test recording is recommended to confirm appropriate levels‚ avoiding clipping (distortion from too-high volume) or excessively quiet audio․
Microphone sensitivity determines how readily the recorder picks up sound․ Higher sensitivity is beneficial in quiet environments or when recording distant sources‚ but can also amplify background noise․ Lower sensitivity is preferable in noisy environments to minimize unwanted sounds․
Experiment with these settings to find the ideal balance for your recording environment․ Regularly monitor audio levels during recording using the Q78’s built-in level meter for best results․ Proper adjustment guarantees intelligible and professional-sounding recordings․
Using the Automatic Recording Feature
The Dododuck Q78’s automatic recording function provides hands-free operation‚ ideal for lectures‚ meetings‚ or situations where immediate manual activation isn’t possible․ This feature initiates recording when sound is detected‚ conserving memory and battery life by only capturing relevant audio․
To activate automatic recording‚ navigate to the settings menu and enable the “Auto Record” option․ You can also adjust the sound threshold – the minimum decibel level required to trigger recording․ A lower threshold increases sensitivity‚ while a higher threshold reduces false starts from ambient noise․
Carefully calibrate the threshold to suit your environment․ Test the setting before critical recordings to ensure reliable activation․ Remember to check the recorded files to confirm the feature functioned as expected‚ capturing all desired audio segments․
Voice Activation Recording (VAR) Setup
The Dododuck Q78’s Voice Activation Recording (VAR) feature intelligently begins recording only when voices are present‚ saving storage space and simplifying file review․ This is particularly useful for long meetings or interviews where silence dominates․
To configure VAR‚ access the device’s settings menu and locate the “VAR” option․ Here‚ you can adjust the sensitivity level․ Lower sensitivity detects quieter voices but may trigger from background noise; higher sensitivity requires louder speech but minimizes false recordings․
Experiment with different sensitivity settings in your typical recording environment․ A test recording is crucial to ensure VAR accurately captures desired speech while ignoring unwanted sounds․ The Q78 provides visual feedback indicating VAR is active‚ ensuring you’re aware of its operational status during recording sessions․
Playback and File Management
Effortlessly manage your recordings! This section details navigating‚ controlling playback speed‚ deleting files‚ organizing folders‚ and transferring data to your computer․
Navigating Recorded Files
Accessing Your Recordings: The Dododuck Q78 utilizes a straightforward file navigation system․ After powering on the device‚ use the UP/DOWN buttons on the control panel to scroll through your list of recorded files․ The LCD screen will display the file number‚ date‚ and recording time for each entry․
Folder Structure: Recordings are typically stored in folders for organized management․ Press the MENU button‚ then select “File Management” and “Folders” to view and navigate between these folders․ You can create new folders directly from this menu to categorize your recordings based on date‚ topic‚ or any other preferred method․
File Playback Preview: To quickly preview a file without fully playing it‚ briefly press the PLAY/PAUSE button while the file is highlighted․ This will play a short sample of the recording; The FAST FORWARD/REWIND buttons can be used to quickly jump to different sections within a longer recording‚ allowing for efficient file review․
Playback Speed Control
Adjusting Playback Tempo: The Dododuck Q78 offers versatile playback speed control‚ allowing you to tailor the audio to your listening preference or efficiently review lengthy recordings․ Access this feature during playback by pressing the MENU button․ Navigate to the “Playback Settings” option and select “Playback Speed․”
Available Speeds: You’ll find a range of speed options‚ typically including 0․5x (half speed)‚ 1x (normal speed)‚ 1․5x‚ and 2x (double speed)․ Use the UP/DOWN buttons to cycle through these options and select the desired speed․ Slower speeds are ideal for transcribing difficult-to-understand audio‚ while faster speeds help quickly review content․
Temporary Speed Adjustment: For quick‚ temporary adjustments‚ some models allow holding the FAST FORWARD or REWIND buttons during playback to incrementally increase or decrease the speed․ Remember to return to 1x for standard listening․
Deleting Files and Folder Organization
Managing Your Recordings: Keeping your recordings organized is crucial‚ and the Dododuck Q78 provides tools for efficient file management․ To delete a file‚ navigate to it using the UP/DOWN buttons‚ press MENU‚ and select the “Delete” option․ A confirmation prompt will appear – select “Yes” to permanently remove the file․
Folder Creation: Create folders to categorize your recordings․ From the main menu‚ choose “Folder Options” then “New Folder․” Enter a name for the folder using the on-screen keyboard․ This allows grouping recordings by date‚ project‚ or topic․
Moving Files: To move files‚ select the desired file‚ press MENU‚ and choose “Move․” Select the destination folder․ Regularly organizing files prevents clutter and simplifies retrieval when needed․ Be cautious when deleting‚ as files are typically unrecoverable․
Transferring Files to a Computer (USB Connection)
Connecting to Your PC/Mac: To transfer recordings to your computer‚ connect the Dododuck Q78 using the provided USB cable․ Power on the device․ Your computer should recognize it as a removable drive – typically labeled “Dododuck․” If it doesn’t appear‚ ensure the USB cable is securely connected to both the recorder and your computer․
File Access: Once recognized‚ open the drive in your file explorer (Windows) or Finder (Mac)․ You’ll find your recordings stored in folders․ Files are generally in WAV format‚ ensuring high audio quality․ Simply copy and paste the desired files to a location on your computer․
Safe Removal: Before disconnecting‚ safely eject the device from your computer to prevent data corruption․ On Windows‚ use the “Safely Remove Hardware” icon․ On Mac‚ drag the drive icon to the Trash․

Advanced Features & Troubleshooting
Explore further! This section details firmware updates‚ resolving common issues like sound problems or freezing‚ and maximizing your Dododuck Q78’s capabilities․
Firmware Updates and How to Apply Them
Keeping your Dododuck Q78 up-to-date is crucial for optimal performance‚ bug fixes‚ and access to new features․ Regularly check the official Dododuck website for the latest firmware releases specifically designed for the Q78 model․ Download the firmware file to your computer – ensure it’s the correct version!
To apply the update‚ connect your Q78 to your computer using the provided USB cable․ The device should appear as a removable drive․ Follow the instructions included with the firmware download; typically‚ you’ll need to copy the firmware file directly to the root directory of the Q78’s internal storage․
Disconnect the device safely and then power it on․ The Q78 should automatically detect the new firmware and initiate the update process․ Do not interrupt the update! A progress bar will be displayed on the screen․ Once completed‚ the device will restart‚ and you’re all set․ Always refer to the detailed instructions on the Dododuck website for the most accurate and up-to-date guidance․
Common Issues and Solutions (No Sound‚ Device Freezing)
Experiencing issues? Let’s troubleshoot! If you encounter no sound during playback‚ first ensure the volume isn’t muted and headphones (if used) are properly connected․ Check the recording level during recording; a very low level results in inaudible playback․ Try a different set of headphones to rule out a headphone issue․
If the device freezes‚ attempt a soft reset by holding the power button for 10 seconds․ If that fails‚ a hard reset might be necessary (consult the Dododuck website for specific instructions‚ as this may involve a USB connection and specific key combinations)․
Low battery can also cause erratic behavior․ Ensure the device is adequately charged․ If problems persist‚ visit the Dododuck support page for FAQs and detailed troubleshooting guides․ Regularly updating the firmware‚ as described previously‚ can also prevent many common issues․