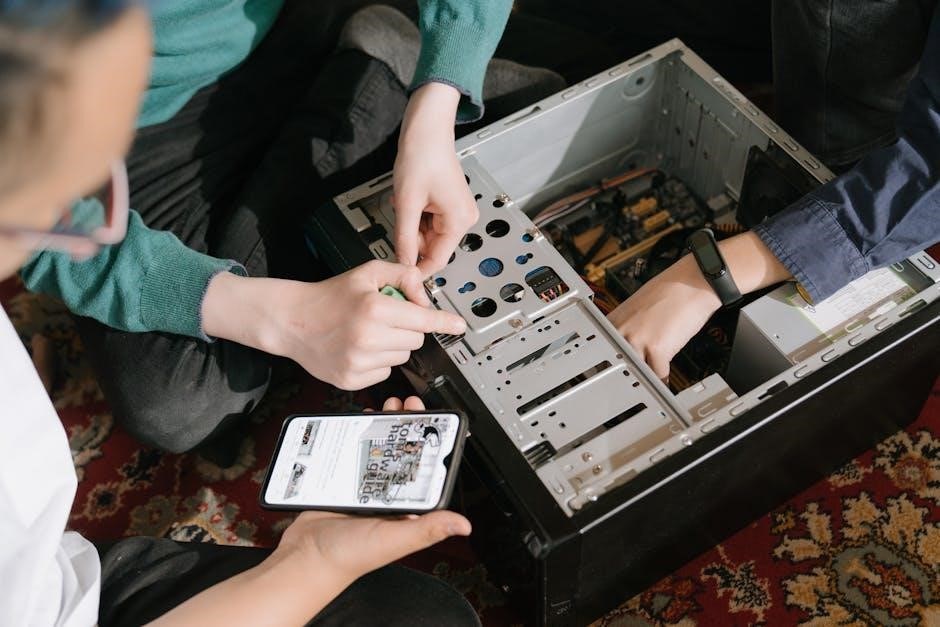
Pool Pump Making Loud Noises
A loud noise from your Intex pool pump can indicate loose internal components or worn-out bearings. Ensure all parts are securely tightened and replace bearings if necessary.
- Loose Components: Check for loose screws or internal parts vibrating excessively.
- Worn Bearings: Replace bearings if grinding or screeching sounds occur.
- Clogged Impeller: Clear debris from the impeller to reduce noise.
Common Causes and Solutions
Loud noises from your Intex pool pump often stem from loose components‚ worn bearings‚ or a clogged impeller. Regular maintenance and inspections can prevent these issues.
- Loose Components: Tighten any loose screws or internal parts to reduce vibration and noise.
- Worn Bearings: Replace bearings if grinding or screeching sounds are present;
- Clogged Impeller: Clear debris from the impeller to ensure smooth operation and reduce noise.
Loose Pump Lid or Internal Components
A loose pump lid or internal components can cause excessive vibration and noise. Regularly inspect and tighten screws and bolts to ensure all parts are secure.
- Inspect Lid and Components: Check for any loose parts and tighten them immediately.
- Replace Worn Fasteners: If screws or bolts are damaged‚ replace them to prevent further issues.
- Rebalance the Pump: Ensure proper alignment to avoid uneven wear and noise.
Clogged Impeller or Debris in the Pump
A clogged impeller or debris in the pump can cause loud noises and reduce efficiency. Turn off the pump‚ disassemble it‚ and clean out any dirt‚ leaves‚ or small objects blocking the impeller.
- Inspect the Impeller: Look for trapped debris and gently remove it with a soft brush or cloth.
- Check for Blockages: Ensure the suction line is clear to prevent debris from reaching the pump.
- Regular Maintenance: Clean the impeller periodically to avoid clogs and maintain smooth operation.

Pool Pump Leaking Water
Leaks often occur due to worn-out shaft seals or cracked housing. Inspect connections‚ replace damaged gaskets‚ and tighten loose fittings to prevent water loss.
- Inspect Seals: Replace worn shaft seals to stop leakage.
- Check Connections: Tighten loose fittings to ensure a watertight seal.
Identifying the Source of the Leak

To pinpoint the leak‚ inspect the pump lid‚ connections‚ and shaft seals. Apply soapy water to suspect areas; bubbles will form if a leak is present.
- Check the Pump Lid: Ensure it is tightly secured to prevent water escape.
- Inspect Connections: Look for cracks or gaps in pipes and fittings.
- Examine Shaft Seals: Replace worn or damaged seals immediately.
Turn the pump off‚ inspect for visible cracks‚ and test connections with a sealing solution to confirm the leak source.
Worn-Out Shaft Seals or Gaskets
A common cause of leaks‚ worn shaft seals or gaskets allow water to escape. Inspect these components regularly for signs of wear‚ such as cracks or fraying.
- Replace Shaft Seals: Use manufacturer-approved seals to ensure a proper fit and prevent further leaks.
- Check Gaskets: Replace any gaskets showing wear to maintain a watertight seal.

Leaving these issues unaddressed can lead to more severe damage‚ so address them promptly to maintain your pump’s efficiency and longevity.
Cracked Pump Housing or Loose Connections
Cracks in the pump housing or loose connections can cause leaks and reduce efficiency. Inspect the housing for any fractures and tighten all connections firmly.
- Inspect Housing: Look for cracks or damage that may allow water to escape.
- Tighten Connections: Ensure all pipes and fittings are securely attached to prevent leaks.
Addressing these issues promptly will help maintain proper pump function and prevent further damage to the system‚ ensuring your pool remains clean and safe. Regular maintenance is key to avoiding costly repairs.
Pool Pump Not Turning On
If your Intex pool pump won’t turn on‚ check the electrical connections‚ ensure the circuit breaker is on‚ and verify the power supply to the pump.
- Power Supply: Confirm the outlet is working and the pump is properly plugged in.
- Circuit Breaker: Ensure it hasn’t tripped and reset if necessary.
- Switch Position: Verify the pump switch is in the “on” position.
Checking Electrical Connections
Ensure all electrical connections to the Intex pool pump are secure and functioning properly. Verify the power cord is plugged into a working outlet and the circuit breaker hasn’t tripped. If the pump still doesn’t turn on‚ inspect the capacitor for damage or wear‚ as a faulty capacitor can prevent the motor from starting. Additionally‚ check for any loose or corroded wires‚ as these can disrupt the electrical flow. If issues persist‚ consult a professional electrician to rule out any underlying electrical problems.
- Power Cord: Ensure it’s securely plugged into a functioning outlet.
- Circuit Breaker: Reset if tripped to restore power to the pump.
- Capacitor: Inspect for damage or wear‚ as it may need replacement.
- Wiring: Check for loose connections or corrosion that could disrupt power supply.
Inspecting the Circuit Breaker and Capacitor
Check the circuit breaker to ensure it’s switched on and hasn’t tripped. If it has‚ reset it and test the pump. Next‚ inspect the capacitor for visible damage‚ swelling‚ or leakage. A faulty capacitor can prevent the motor from starting. Use a multimeter to test its continuity if possible. If damaged‚ replace the capacitor with a compatible model. Ensure all connections are secure and free from corrosion. If issues persist‚ consult a professional‚ as Intex pumps may have limited serviceability compared to other brands.
- Circuit Breaker: Ensure it’s on and reset if necessary.
- Capacitor: Inspect for damage and test with a multimeter.
- Connections: Verify all are secure and free from corrosion.
Testing the Pump Motor
Start by ensuring the pump is disconnected from power. Listen for humming sounds‚ which may indicate a faulty capacitor or worn bearings. Use a multimeter to test the motor windings for continuity. High resistance readings suggest wear‚ while low readings may indicate a short circuit. Check the capacitor’s charge by turning the pump off and measuring voltage across its terminals. If the motor fails to start or runs unevenly‚ consider replacing it. Intex pumps‚ being budget-friendly‚ may require full motor replacement rather than component-level repairs.
- Humming Sounds: Indicate potential capacitor or bearing issues.
- Motor Windings: Test for continuity or short circuits.
- Capacitor Check: Measure voltage to ensure proper function.

Pool Pump Not Pumping Water
If your Intex pool pump isn’t pumping water‚ check for air leaks in the suction line or a clogged impeller. A dirty filter or obstruction may also restrict flow;
- Air Leaks: Inspect suction lines for cracks or loose connections.
- Clogged Impeller: Remove debris blocking the impeller.
- Dirty Filter: Clean or replace the filter to restore water flow.
Inspecting the Suction Line for Air Leaks

Air leaks in the suction line are a common issue that prevents the pump from priming. To inspect‚ start by turning off the pump and examining the entire suction line for cracks or loose connections. Pay special attention to areas where the line connects to the pump or skimmer. Tighten any loose fittings and replace damaged sections. If leaks persist‚ apply Teflon tape to threaded connections or replace worn-out gaskets. Ensure the pump lid and O-rings are properly sealed to maintain vacuum pressure. Regular inspection helps prevent future issues and ensures efficient water flow.
- Cracks or Damage: Replace any cracked or brittle sections of the suction line.
- Loose Connections: Tighten all connections and apply Teflon tape if necessary.
- Pump Lid and O-Rings: Ensure they are securely sealed to maintain suction.
Checking for Obstructions in the Pump
Obstructions in the pump can prevent proper water flow and cause inefficiency. Turn off the pump and inspect the impeller and basket for debris. Remove any leaves‚ dirt‚ or small objects that may be blocking the flow. Check the pipes and connections for kinks or blockages. If the pump still doesn’t function‚ disassemble it to clean or replace internal components. Regular maintenance ensures smooth operation and extends the pump’s lifespan.
- Impeller and Basket: Clear debris to restore proper water flow.
- Pipes and Connections: Inspect for kinks or blockages that restrict flow.
- Internal Components: Clean or replace parts if clogged or damaged.
Cleaning or Replacing the Filter
A dirty or clogged filter can reduce pump efficiency and cause issues. Turn off the pump and remove the filter cartridge. Rinse it with clean water to eliminate dirt and debris. For stubborn stains‚ soak the filter in a mild detergent solution. If the filter is damaged or worn out‚ replace it with a new one. Ensure the filter is securely reinstalled before restarting the pump. Regular cleaning and replacement prevent poor water circulation and maintain optimal performance.
- Filter Cleaning: Rinse or soak the cartridge to remove dirt.
- Replacement: Install a new filter if the old one is damaged.
- Proper Installation: Ensure the filter is securely in place.

Pool Pump Motor Hums but Does Not Run
A humming motor indicates a faulty capacitor or worn bearings. Check the capacitor for failure and replace it if necessary. Inspect bearings for wear and lubricate or replace them to restore motor function.
- Capacitor Issues: A failed capacitor prevents the motor from starting.
- Bearing Wear: Worn bearings cause friction‚ leading to humming noises.
Diagnosing Faulty Capacitors
A faulty capacitor can cause the pool pump motor to hum without running. To diagnose‚ turn off the power and check the capacitor for visible damage‚ such as swelling or cracks. Use a multimeter to test capacitance and ensure it matches the rated value. If the capacitor is faulty‚ replace it with a compatible one. Additionally‚ ensure all wiring connections are secure and free from corrosion‚ as loose connections can mimic capacitor failure. Proper testing ensures accurate diagnosis and prevents further damage to the motor.
Inspecting Worn-Out Bearings
Worn-out bearings often cause loud grinding noises and vibrations in the pool pump motor. To inspect‚ switch off the power and disassemble the motor. Check the bearings for visible wear‚ rust‚ or pitting. Spin them by hand; smooth operation indicates they’re functional. If they seize or make noise‚ replacement is necessary. Lubricate new bearings before installation and ensure proper alignment to prevent further damage. Regular maintenance can extend the motor’s lifespan and prevent costly repairs. Always follow manufacturer guidelines for replacement and lubrication.
Pool Pump Pressure Issues
Low pressure in filter mode or inconsistent water flow can indicate incorrect sand levels or a malfunctioning 4-way valve. Adjust the valve and ensure proper sand levels for optimal performance.
- Check Sand Levels: Ensure the filter has the recommended sand amount.
- Inspect the Valve: Verify the 4-way valve is functioning correctly.
Low Pressure in Filter Mode
Low pressure in filter mode can occur due to incorrect sand levels‚ clogged filters‚ or a malfunctioning 4-way valve. Ensure the sand level is within the recommended range and clean or replace the filter if dirty. Check the valve for proper function and alignment. If issues persist‚ inspect for blockages in the return lines or impeller. Regular maintenance‚ such as backwashing and checking for worn gaskets‚ can prevent pressure drops and maintain optimal water flow. Addressing these factors will help restore normal pressure and ensure efficient filtration.
- Adjust Sand Levels: Ensure sand is at the correct height.
- Clean or Replace Filter: Remove debris or replace the filter cartridge.
- Inspect the Valve: Verify the 4-way valve is functioning properly.

Incorrect Sand Levels in the Filter
Incorrect sand levels in your Intex pool filter can disrupt its performance. If the sand is too low‚ the filter may not function properly‚ while excessive sand can cause pressure issues. Always follow the manufacturer’s guidelines for the recommended sand level. Check the sand level periodically and refill if necessary. Ensure the sand is clean and free from debris. Imbalanced sand levels can lead to poor water circulation and filtration efficiency‚ potentially causing the pump to work harder and increasing wear on internal components. Regular monitoring and adjustments will help maintain optimal filter operation and extend its lifespan.
- Check Sand Level: Refer to the user manual for correct measurements.
- Refill or Remove Sand: Adjust as needed to maintain balance.
- Monitor Performance: Ensure proper water flow and filtration after adjustments.