
The Singer 5050C is an entry-level sewing machine designed for beginners‚ offering ease of use and versatility with various stitch functions for different projects․
1․1 Overview of the Singer 5050C Model

The Singer 5050C is a mechanical sewing machine designed for versatility and ease of use․ It features a durable construction‚ making it suitable for both heavy and delicate fabrics․ With its user-friendly interface‚ it is ideal for beginners and experienced sewists alike․ The machine offers various stitch functions‚ including straight and zig-zag stitching‚ and allows for adjustable stitch length and width․ Its reliability and affordability have made it a popular choice for sewing enthusiasts․ The model is often praised for its simplicity and effectiveness in handling a wide range of sewing projects․
1․2 Key Features and Benefits
The Singer 5050C sewing machine offers a variety of features that make it a great choice for sewists․ It includes multiple stitch options‚ adjustable stitch length and width‚ and a durable construction that ensures long-lasting performance․ The machine is easy to operate‚ making it perfect for beginners․ Additionally‚ it comes with a general-purpose needle plate and presser foot‚ allowing for seamless switching between straight and zig-zag stitching․ Its affordability‚ reliability‚ and user-friendly design make it an excellent option for both basic and creative sewing projects․

Setting Up the Singer 5050C Sewing Machine
Setting up the Singer 5050C involves unboxing‚ initial preparation‚ threading‚ and bobbin installation․ Ensure all parts are correctly connected and the machine is ready for operation․
2․1 Unboxing and Initial Preparation
Unboxing the Singer 5050C reveals a compact‚ durable machine with essential accessories․ Begin by inspecting all components‚ including the power cord‚ pedal‚ and presser feet․ Ensure the machine is placed on a stable surface and plug it in․ Before use‚ clean any dust or packaging residue․ Apply a few drops of oil to moving parts for smooth operation․ Refer to the manual for specific lubrication points․ Finally‚ attach any additional accessories‚ such as the general-purpose presser foot‚ to prepare the machine for threading and sewing․
2․2 Threading the Machine
Threading the Singer 5050C requires careful attention to ensure smooth operation․ Begin by raising the presser foot and locating the spool pin․ Follow the threading diagram on the machine or in the manual․ Gently pull the thread through each guide‚ ensuring it seats properly in the tension discs․ Avoid pulling too tightly‚ as this can misalign the thread․ Once threaded‚ test the machine by sewing on scrap fabric to check for proper tension and stitch formation․ Consult the manual for detailed guidance if issues arise․
2․3 Winding and Installing the Bobbin
To wind the bobbin‚ place it on the winder and draw thread from the spool․ Turn the handwheel to wind evenly until full․ Remove and insert the bobbin into the bobbin case‚ ensuring it seats securely․ Trim excess thread‚ then pull gently to check tension․ Install the bobbin case into the machine‚ aligning the notch with the tension spring․ Close the bobbin cover and test by sewing a few stitches to ensure proper thread flow․ Always refer to the manual for specific guidance․

Operating the Singer 5050C Sewing Machine
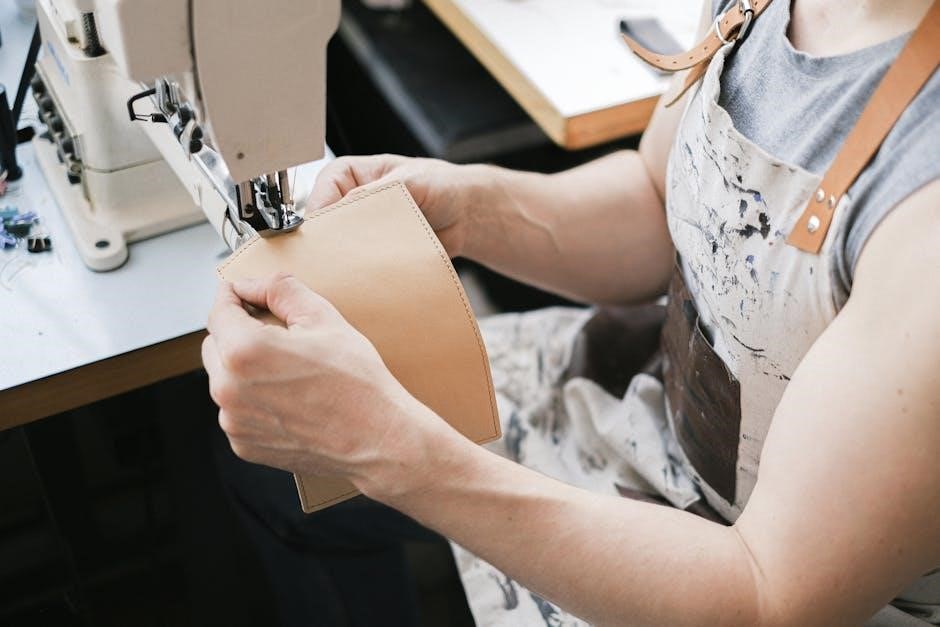
The Singer 5050C offers an intuitive sewing experience with multiple stitch options․ Adjust stitch length and width for various fabrics‚ ensuring precise control for both beginners and experienced sewists․
3․1 Selecting the Right Stitch for Your Project
The Singer 5050C offers a variety of stitches‚ including straight‚ zigzag‚ and decorative options․ Choose the straight stitch for basic sewing and repairs‚ while the zigzag stitch is ideal for stretchy fabrics․ Decorative stitches add a creative touch to projects․ Always refer to the manual for guidance on selecting the appropriate stitch for your fabric type․ Adjust stitch length and width as needed for optimal results․ Experimenting with different stitches on scrap fabric ensures the best outcome for your sewing tasks․
3․2 Adjusting Stitch Length and Width
Adjusting stitch length and width on the Singer 5050C is straightforward․ Use the stitch length dial to set the distance between stitches‚ ideal for heavy fabrics or delicate materials․ The stitch width dial controls the zigzag stitch’s span‚ ensuring proper fabric handling․ Refer to the manual for recommended settings based on fabric type․ Always test adjustments on scrap fabric to achieve desired results․ This feature enhances versatility‚ allowing precise control over stitch customization for various sewing projects‚ from repairs to creative designs․
3․3 Using the Presser Foot and Needle Plate

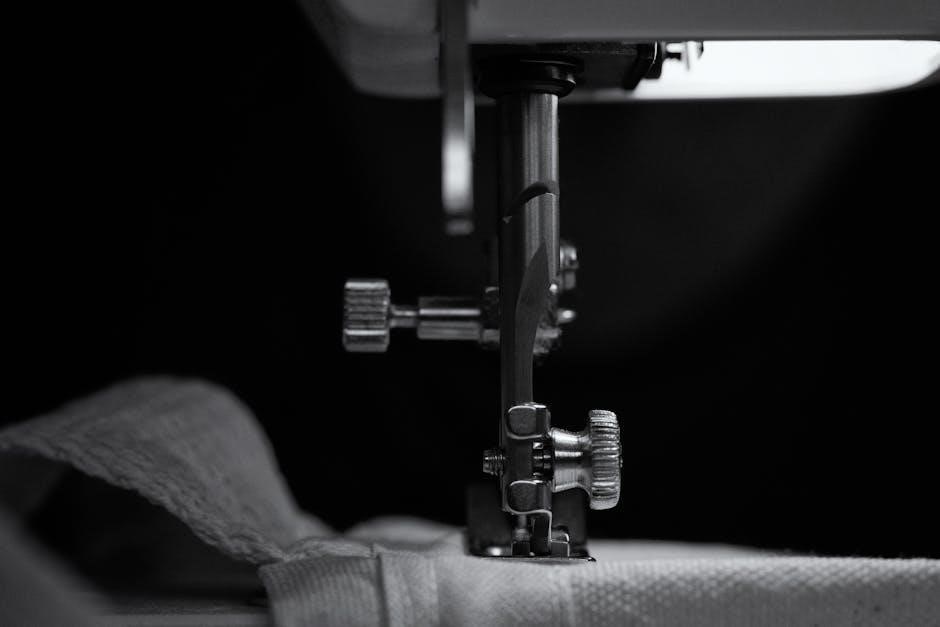
The Singer 5050C comes with a general-purpose needle plate and presser foot‚ designed for seamless transitions between straight and zigzag stitching․ The presser foot ensures fabric stability‚ while the needle plate guides fabric movement‚ preventing bunching․ For double needle setups‚ avoid using the widest zigzag stitch to maintain proper function․ Experiment with different presser foot combinations to suit your project needs‚ ensuring optimal fabric control․ Always test settings on scrap fabric before starting your main project to achieve the best results․
Maintenance and Care
Regular cleaning and oiling are essential to keep the Singer 5050C running smoothly․ Proper care ensures longevity and optimal performance for all your sewing projects․
4․1 Cleaning the Machine
Regular cleaning ensures optimal performance of the Singer 5050C․ Use a soft cloth to wipe down the exterior and remove dust․ Open the machine’s cover to access the interior․ Gently brush away lint and debris from the bobbin area and shuttle hook using a small brush or vacuum cleaner․ Avoid using liquids or harsh chemicals‚ as they may damage the machine’s finish․ For stubborn lint‚ a compressed air canister can be used․ Cleaning regularly prevents dust buildup and ensures smooth operation․ Always refer to the manual for specific cleaning instructions․
4․2 Oiling the Machine
Regular oiling is essential for maintaining the Singer 5050C’s smooth operation․ Locate the oiling points‚ typically found in the bobbin area and shuttle hook․ Apply a few drops of high-quality sewing machine oil to these points․ Gently turn the handwheel to circulate the oil throughout the mechanism․ Avoid over-oiling‚ as it can attract dust and lint․ Use a clean cloth to wipe away any excess oil․ Proper lubrication ensures the machine runs quietly and efficiently‚ preventing wear and tear․ Always refer to the manual for specific oiling instructions․
4․3 Troubleshooting Common Issues

The Singer 5050C is generally reliable‚ but issues like thread bunching or machine malfunction can occur․ If the machine won’t turn on‚ check the power cord connection and ensure it’s properly plugged in․ For thread issues‚ re-thread the machine following the manual’s guide․ Incorrect stitch selection or tension can cause poor stitching; adjust settings as needed․ If the bobbin isn’t winding correctly‚ clean lint from the bobbin area and retry․ Regular maintenance‚ like cleaning and oiling‚ helps prevent these problems․ Always consult the manual for specific troubleshooting steps․
Accessories and Parts
The Singer 5050C comes with essential accessories like bobbins‚ needles‚ and presser feet․ Additional parts‚ such as replacement needles and compatible bobbins‚ can be purchased separately․
5;1 Understanding the Needle System
The Singer 5050C uses standard sewing machine needles‚ compatible with various fabric types․ The machine supports both single and double needles for different stitching needs․ Always use the correct needle size and type for your fabric to ensure smooth operation․ Regularly inspect and replace worn or damaged needles to prevent breakage and maintain stitch quality․ The manual provides guidance on needle selection and installation․ Proper needle maintenance is essential for optimal performance and longevity of your sewing machine․
5․2 Compatible Bobbin Sizes
The Singer 5050C sewing machine uses standard Class 15 or 15J bobbins‚ ensuring compatibility with most common sewing projects․ Using the correct bobbin size is crucial for proper thread tension and stitch quality․ The manual recommends using Singer-compatible bobbins for optimal performance․ Always check the bobbin size specifications in your manual to avoid threading issues․ Incorrect bobbin sizes can lead to machine malfunction or uneven stitching․ Refer to the Singer 5050C manual for detailed guidance on bobbin compatibility and installation․
5․3 Replacing the Foot Lever
Replacing the foot lever on the Singer 5050C is a straightforward process․ Start by gathering the necessary tools‚ such as an Allen wrench‚ and ensure the machine is turned off․ Remove the old foot lever by loosening the retaining screw located underneath․ Carefully pull it away from the machine․ Next‚ align the new foot lever with the mounting bracket and secure it using the screw․ Tighten firmly to ensure stability․ Test the lever to ensure smooth operation․ If unsure‚ consult the manual for detailed diagrams or troubleshooting tips․
Finding and Using the Singer 5050C Manual
The Singer 5050C manual is available for free download online in PDF format․ It provides detailed instructions for setup‚ maintenance‚ and troubleshooting‚ ensuring smooth operation for users․
6․1 Downloading the Manual Online
The Singer 5050C manual can be easily downloaded from various online sources․ Websites like ManualsLib or Singer’s official site offer free PDF versions․ Simply search for “Singer 5050C manual” and select a trusted link․ Once downloaded‚ the manual provides detailed instructions for setup‚ operation‚ and troubleshooting․ It’s advisable to save the manual to your device for quick access․ If you prefer a physical copy‚ you can print it out․ This ensures you always have guidance handy for your sewing projects․
6․2 Navigating the Manual’s Content
The Singer 5050C manual is structured to guide users through setup‚ operation‚ and maintenance․ It begins with safety instructions and an overview of machine parts․ The table of contents allows quick access to specific topics‚ such as threading‚ stitch selection‚ and troubleshooting; Detailed diagrams and step-by-step instructions make complex tasks easier to understand․ The manual also includes a section on common issues and solutions‚ ensuring users can resolve problems independently․ By following the manual’s clear guidance‚ users can maximize the machine’s potential and enjoy a seamless sewing experience․
6․3 Tips for First-Time Users
For first-time users‚ start by thoroughly reading the manual to understand the machine’s parts and functions․ Practice threading and winding the bobbin before starting projects․ Use scrap fabric to test stitches and adjust settings․ Keep the machine clean and oiled for smooth operation․ Familiarize yourself with the stitch selector and presser foot options․ Don’t rush—take time to master basic techniques․ These steps will help you gain confidence and make the most of your Singer 5050C sewing machine․